How to fix corrupt video files? Ever been unable to watch a favorite movie or video since the video file is corrupt or destroyed, you know how frustrating that can be. Whether it’s the whole video that can’t playback, or there are lines of video distorted or not playing, to try and watch a corrupted video can be difficult and disappointing.
Now imagine if your video need is for business or client work? You’re probably in danger of losing not only that client work, perhaps future work from them, and your reputation may suffer as a result. If it’s the family vacation or other important memory that is on the corrupted video, it can be very heartbreaking.
Regardless of how you use the video, after all the hours of filming seems wasted, and can cause a real headache.
So what are you going to do? What options are available to you so you can fix the problem?
While not every video is one that you can salvage, there are plenty of things to try before you give up and decide the video is gone forever. Some are paid options, while others are free. However, like everything else, keep in mind that you get what you pay for, and alternatives to fix your videos are the same.
Not All Video Recovery Options Are the Same

Image by: StartupStockPhotos
As mentioned previously, there are some options for video recovery that are free, but some services only offer paid selections. The quality of these free programs can be suspect, and for that reason, we recommend finding a legitimate, paid service to assist you.
Additionally, the type of OS or operating system your device runs on is essential as different OS have different coding requirements to fix the problem. Apple has an OS that is entirely different from the Windows Operating System, and because of that, the video recovery software will be different.
When deciding whether to opt-in for a paid service or the free software, keep in mind that with the paid services you’re going to get many features not included in the free versions.
Save Your Video

Image by: kreatikar
The very first thing you should do to prevent a corrupted video is to save it and back it up on a separate (cloud) memory source. That way if you discover the video corrupted, you can revert to the saved copy. Additionally, make sure you have a continuous internet connection and a reliable power source to help prevent damage during the save process.
When you save your backup, make sure that the copy it’s stored in a different location than the original. If you have the original on a hard drive, perhaps keep the copied version on a cloud storage or zip drive. However, that’s the preventative way to make sure you have reliable video playback. What do you do if it’s already damaged and you don’t have a backup?
What Causes Video Corruption

Source: Giphy.com
Before choosing a file recovery workaround, it is in understanding what may cause the file to become damaged in the first place is essential. These are just a few of the many ways that a file may become corrupted, but with each cause, there is a simple solution; retry to download the video file and while that may not be the most efficient, it may be the simplest solution.
Corrupt video files can also be the result of a broken header, the metadata that informs the video file, and those can be difficult to resolve. It may be a broken line of code or something more challenging to repair, and running a video recovery software is the only way to be confident.
Another source related to corrupt video files can be from internet disruption and connectivity during uploads or downloads. Think about the data as needed continuity when uploading and downloading to remain intact. A disruption of connectivity or power during that process can create a break in the code and cause corruption in the file.
Moreover, a problem with the read and write function of the file could create a problem with the coding, which will create an issue with the video playback. It could be the cause of damaged or corrupted video files as you try to play them or save them for later use.
Power disruptions can also cause files to become corrupted, just as they would with internet disruptions. The solution is a simple fix, restart the upload, unless it was a complex video file, which you would want to try and repair the data as we discuss below.
Video files that are improperly, or overly, compressed may end up becoming corrupted and be unplayable. Moreover, files from an unreliable website or torrent source can cause the data to become corrupted and damaged.
MP4 and MOV Repair

Image by: Mediamodifier
The first step to fix your corrupted MP4 and MOV video files are to launch a VLC Player. There are many options online to use this app, and there are alternatives that may work if this one doesn’t. Other options may include many free or paid options to repair the damaged video, but this is the best procedure we’ve found.
The first thing you need to do to repair your video files is to launch the online VLC player. After launch, you need to go to the media option and select the convert/save button. It will then ask you to upload your video, and once you’ve completed that, you will need to choose convert/save again.
Now you will need to name the files once the “convert” window appears and it will ask you to select the Codec profile from the drop-down menu. The Codec file is a program used to compress the data for faster, easier transfer of data.
Once you’ve chosen the Codec profile, next, you need to select the edit selected profile option. You can also add a new profile or delete an existing one before picking start on the menu. Finally, once you complete the rest of the steps, you can decide to start the program, which will run through the video and work to repair it.
Before completion, make sure to preview your files. If they won’t playback as they should, you may need to look at alternative steps to repair your damaged video files.
Launch VLC Player and Save Files

Source: Giphy.com
Once you launch the VLC player, the menu will present you with options that will ask you to choose the media you wish to utilize. Once you select the correct one, you’ll want to select from the convert files or save files option. This step is a necessary step for the VLC to recognize what the data you’re about to upload and repair.
The next step is to select the media option then, ta-da, upload the file and again, choose between convert and save the data. Now you’ll be asked to click choose the Codec profile for the upload. What a Codec does is that first, it’s a program or computer designed to help communicate between applications. In essence, it compresses the data so that the file transfer will be as quick and efficient as possible.
Once the upload is complete, select to start the recovery program and wait to repair all the files, keep in mind that you can't reclaim all the data and there is a multitude of factors why. Also, keep in mind that upload times will vary depending on the type of file you’re uploading to the speed of your internet connection and so-on.
Free vs. Paid Video Recovery Options

Source: Giphy.com
Sometimes the best things in life aren’t free, but that doesn’t mean that the free version is terrible. They may have lesser options than the paid version, and with a little education and persistence, you can find the right service to help you.
The problem with free options for your video recovery is that often, you will need to upload your video and wait, the processing speed isn’t great. As we mentioned previously, using a paid service such as Stellar’s Video Repair Tool offers a lot of options including an option to preview before downloading the repaired file.
By offering a preview, you’re able to see the if the corrupted file can be played back correctly and without glitches. This preview will save you time as you have the confidence the data have been recovered and won’t need to relaunch a repair app or software.
A Little Prevention Saves Time In the Future

Image by: rawpixel
An alternative way to repair your damaged video file is to replicate the original and gain better accessibility for your repair software. Importantly, this is good for video files that have been corrupted many times over, from over-compression or third-party access.
It’s a simple process, one where you start by saving or copying your original file. Next, rename the file to AVI and launch the VLC player. Now you need to select the VLC and go to preferences, once there click input or Codec. Save the file once you’ve chosen the proper input/Codec and choose always fix option located by the repair AVI files option.
That’s all you need to do with this option to repair your damaged files. Your corrupted video files should be restored and now ready to view. To prevent any future problems with playback, remember to copy and save the new video somewhere other than the original source location.
A third service to repair your damaged and corrupted files is with Video Repair Software. This service is simple and will restore all your damaged files, from headers, sliders, and compression issues.
Start by uploading your file into the software. Click repair to begin the software. It will begin to repair damaged files such as broken headers, movement, sound, and other issues in the file. Next preview the fixed files with playback. Finally, select the files, save them and presto, now you have your video files ready to play.
Other Ways to Repair and Fix Corrupt Video Files

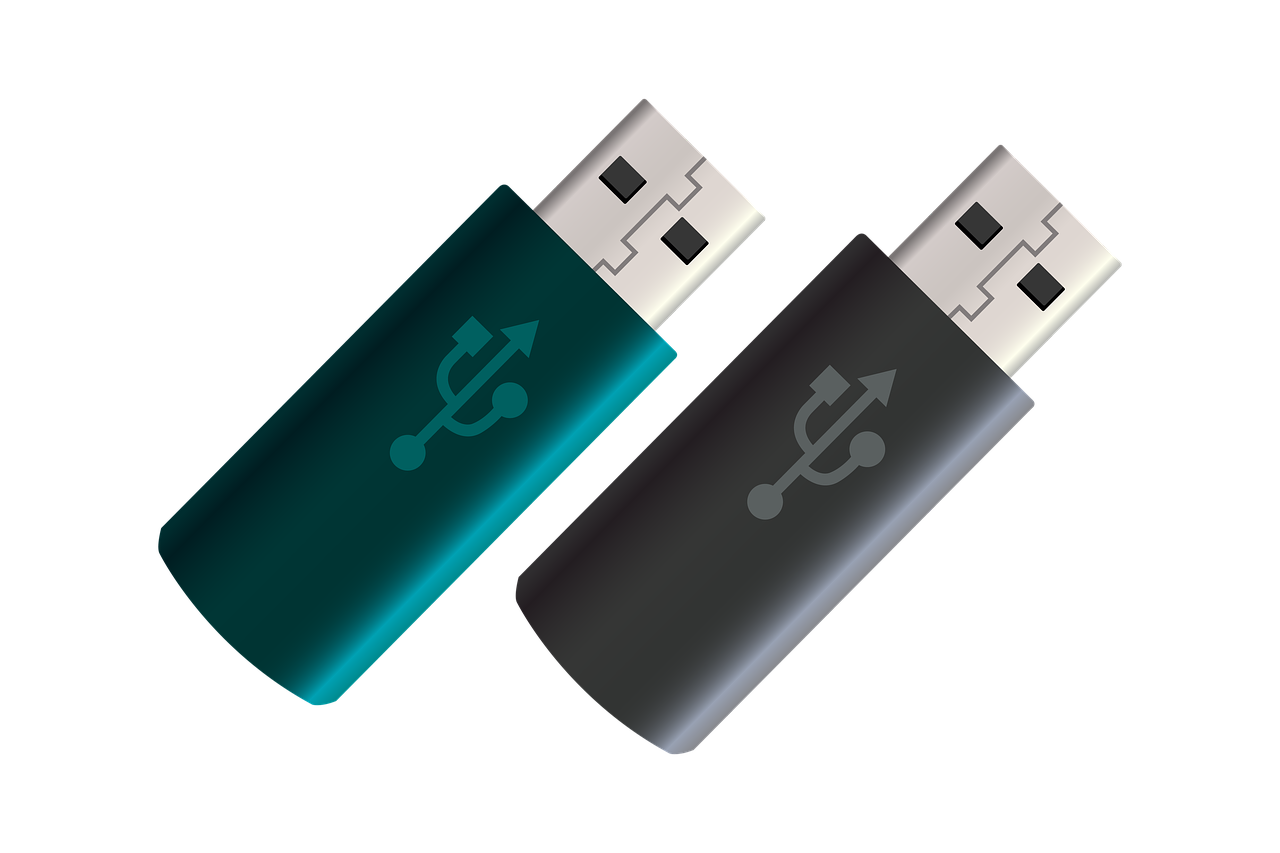
Image by: OpenClipart-Vectors
In theory, we record, download or upload our movie, and it seamlessly plays back for us in stunning high-definition, every time we want to play it. Unfortunately, this isn’t the reality that many of us face. There are a few proactive steps you can take to ensure quality playback and avoid any unnecessary repairs.
First, save your video onto another memory card, in cloud storage, or other memory storage options. Second, make sure that the internet is undisrupted during the download and that there is ample battery life, or connect to a power source.
Finally, try to avoid compressing the files multiple times that you increase the chances of corrupting the video. Avoiding this step will help prevent broken code and broken headers in your video file.
If you’re stuck with a corrupted video or damaged file, keep in mind that while most some are salvageable, there are some that cannot. Whether you have the video stored on a hard-drive, memory card, in the cloud, smartphone, or other options, there is a software service that can help.
If you are confronted with one or more damaged videos, knowing that there are many ways on how to fix corrupted video files will give you peace of mind.

